
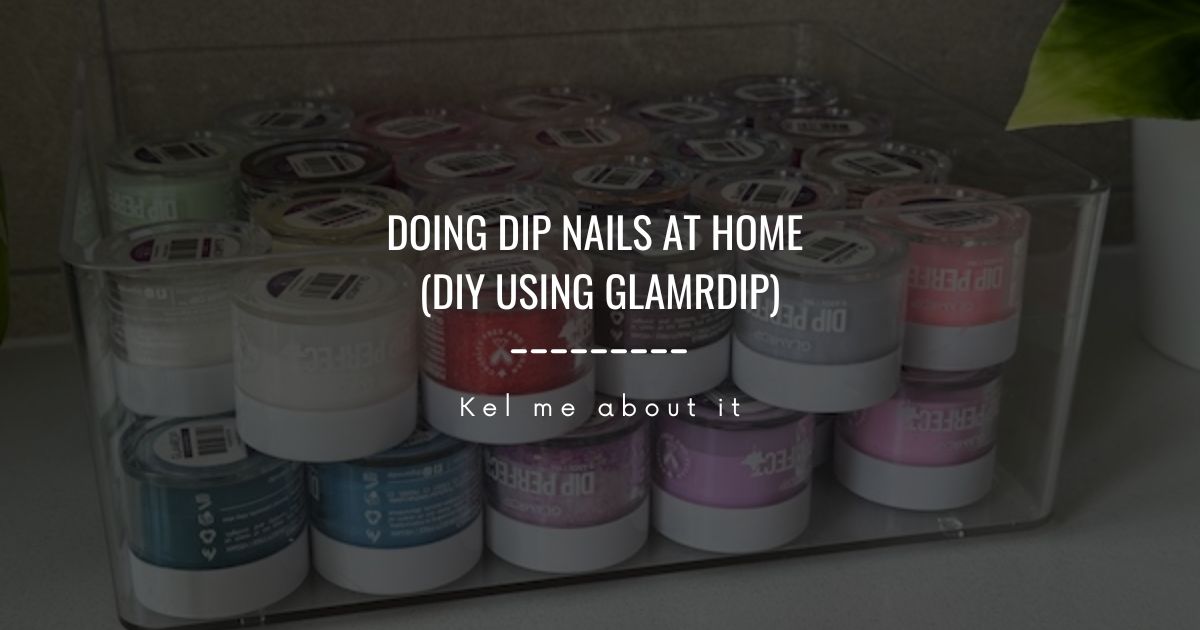
A few of you asked about my dip nails after my last post, so I thought I’d write a dedicated post about them.
I’ve been doing dip polish since roughly October 2024.

It started because I’m a nail-biter. Anxiety chewing, basically. Years ago, I’d started using nail polish as a way to stop, but it really bugged me that it would chip after a few days.
Then the good ol’ social media algorithm got me, and I started seeing ads for Glamrdip. I also saw some for another company, Sistaco, but after a friend at work told me they had used their kit and had the same problem with easy chipping, I quickly moved away from them.
Glamrdip had a lot of rave reviews online. At first, I thought it was bollocks, a bit of influencer marketing and whatnot, but after a few months, I gave in. I had nothing to lose, and decided I might as well give it a shot.
Well, problem solved. The dip makes your nails super hard (almost indestructible), so trying to chew them is nearly impossible. Bonus: my nails are genuinely strong and healthy now.
It appears all the rave reviews weren’t bollocks at all.
The only issue I have is that I have to file my nails down regularly between sets, because now they’re growing so long! I do so much typing for work, and I am not one of those people who can handle nails on keyboards (shudder). That’s like nails on chalkboards for me, ew.
Fun fact – apparently, I type with zombie hands or something, because I’m much more vertical than most people. The way I type puts pressure on the nail bed, so if I have long nails, I end up getting little gaps and stuff, which causes damage. So I keep them short, and it’s win-win all around.
I also managed to get my sister-in-law addicted to dip nails, so I guess we’re in a cult now.
The brand I use
I use Glamrdip. They’re Australian-made, no UV light needed, no dodgy ingredients, and genuinely a ridiculous number of colour options.
I know this because I have bought a bucketload of them. No regrets…and I’ve had to talk myself out of buying even more.

They sell starter kits, which come with everything you need to do your own dip nails from home. From there, you just buy stuff as you need it – liquids, colours, and accessories.
Disclosure – absolutely none of this is sponsored.
A few things worth knowing before you buy:
- Their YouTube tutorials are really, really good. Watch them first. It’ll save you a lot of frustration.
- Customer service has been great in my experience. I asked them for a tip once in a Facebook group, and got an IM with detailed step-by-step instructions. Also, I’m pretty good at detecting when they’re using canned responses or a bot, and for the most part, you can tell there’s a human eye looking over the final bit before hitting send. This is textbook customer service done right.
- I did have one clear powder arrive a bit clumpy. I probably should have contacted them about it (they likely would have replaced it), but instead I did nothing because that’s very on-brand for me.
- Once my liquids needed replacing before they were empty, because my nails were lifting after about a week. Once I replaced them, it was fine. I must have gotten the liquid contaminated, which can happen if you get some dip onto the applicator brushes.
When they’re on properly, they last a long time. For me, it’s roughly two weeks, and that’s because I get impatient and want a different colour. The nails themselves are still going strong.
If you’re interested in Glamrdip I know they ship internationally, but I believe there are a few more suppliers out there. Dipd, and some on Amazon. I’ve not tried them, though, so I don’t want to recommend anything I can’t personally vouch for.
How it actually works
This is probably going to sound more complicated than it is. But trust me, once you’ve done it a few times, you get the hang of it. It just takes time, so I’ve started playing a show while I do them.
The way I look at it, it’s a bit of “me” time…unless, you know, I’m hurrying to get ready the morning of my cousin’s wedding. Ahem.
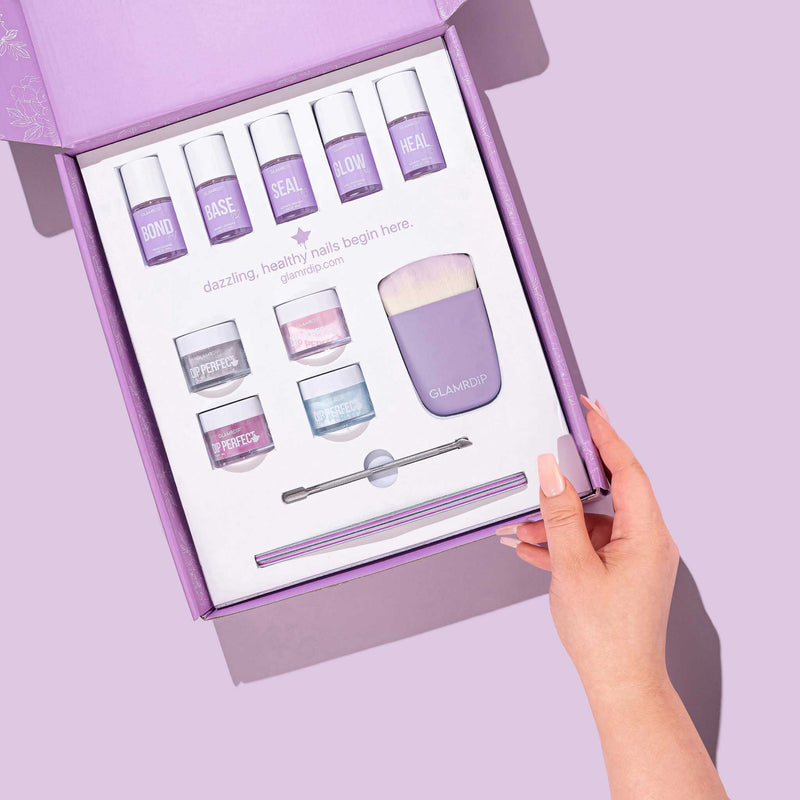
So, the basic process is as follows:
- Prep your nails (buff, push back cuticles, wipe down). The kit comes with a “Bond” liquid, which basically dehydrates the nail to make sure there’s no excessive oils on there that will stop the dip from adhering properly.
- Apply base coat liquid, making sure you keep the liquid thin – you don’t want too much on there.
- Dip into clear powder, tap off excess.
- Give it a minute, then use the brush over your nails to remove any excess powder.
- More base coat, and dip into the colour powder. Do at least two colour coats, ensuring you use the brush to get rid of any excess before the next one.
- Seal with activator liquid.
- File and shape your nail (just in case you got any bumps or made the layers a bit too thick).
- Seal again, then two layers of top coat (called “Glow” in Glamrdip).
- The final liquid, “Heal”, is added to your cuticles to keep them nourished. This can be used any time, really; it doesn’t have to be straight after you’ve done your nails. Some people even apply it daily.
And that’s it!
The two things that make the biggest difference are keeping your layers thin (thick layers look clunky and lift faster) and not rushing the filing and sealing at the end. Generally, it dries pretty quickly. The longest wait is at the end after applying the Seal and Glow coats, and even then you’re only waiting maybe 5 minutes or so each time. During the dip coats they’re generally ready to go by the time you’ve done every nail.
As a bonus, you can also get nail art pens or stickers to decorate your nails before you do the final top coat layer, which is a fun rabbit hole. I’ve gone down it. Zero regrets. It was really fun to do some “monster” nails for Halloween.
As for removal, this is my tried and true process:
- I use an electric nail file to remove the top shiny layers (the “Glow” layers). It doesn’t take long, it’s messy and I wear a face mask to be safe, but it’s not difficult. Just gotta watch your nails. This step could be done with a manual nail file…I’m just lazy.
- Heat up some rice in the microwave for about 45 seconds. After I’m done, I put the rice in a ziplock bag and store it for the next time, so I’m not wasting rice over and over.
- I cut a cotton wool pad in half, and put one half in a little bag.
- I add the Glamrdip “Remove” solution (Acetone and some oils and stuff to protect your skin and nails) into the bag with the cotton wool pad.
- I put the bag in the rice.
- My hand goes into the bag.
Because the Remove solution is pretty gentle, my hands aren’t dried out. It’s pain-free, stress-free, and the hardest part is just making sure I don’t file my skin by accident.
Am I good at it?
Honestly, no. Not really. Nail techs would probably groan at my efforts. Sometimes I’ve got a little bit on the cuticles, sometimes I’ve missed a bit around the edges.
But for my untrained eye, they’re good enough. I have a lot of fun with it, and they have definitely received some compliments. You definitely get the hang of it, and it’s not hard to learn. If you can paint your nails with regular polish then you can definitely do dip nails.
I love playing with all the colours and types of dips they’ve got. In my collection, I’ve got glow-in-the-dark ones, and I’ve got thermal ones that change with temperature. I’ve got every colour of the rainbow. I’ve got glitters, pastels, and plain solid colours. You can even blend colours together to make ombre effects, or dip the start of your nail in white for french tips.
My nails have honestly never been stronger, and I’ve never gone so long without chewing or tearing at my nails.
So if you or a family member is thinking about trying it, I strongly recommend giving it a go. It’s a lot of fun!
Are you thinking of trying dip nails at home? Let me know if you have any more questions, or if you’re already a dip convert, what’s your favourite style to do?



I’m excited to try this when I get back to Canada!
You’ll have to share when you do, I’m super keen to hear what you think.
This is super helpful and I love all the pics of your nails! They look really good. I am still intimidated, but might be willing to try now!
My biggest tip is just set your expectations to be low for your first set. Mine were so thick and look like i’d glued some polish to my nails in big blobs haha. There’s a small learning curve, but it’s seriously so worth it. And almost everyone mucks it up the first few times (those that don’t are beauticians that know what they’re doing haha). It’s worth it, and so much fun!